にほんブログ村
こんにちは!Hoshです。
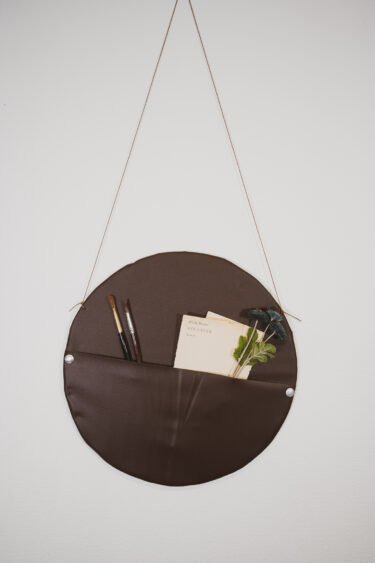
今回は100円ショップのものを主に使用してお部屋の壁にアクセントとなるハンギング収納を作っていきたいと思います。ちょっとお部屋の壁が寂しいなぁと思っている方にオススメです!
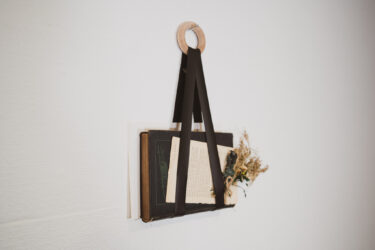
ウォール収納に関する記事は他もあります。
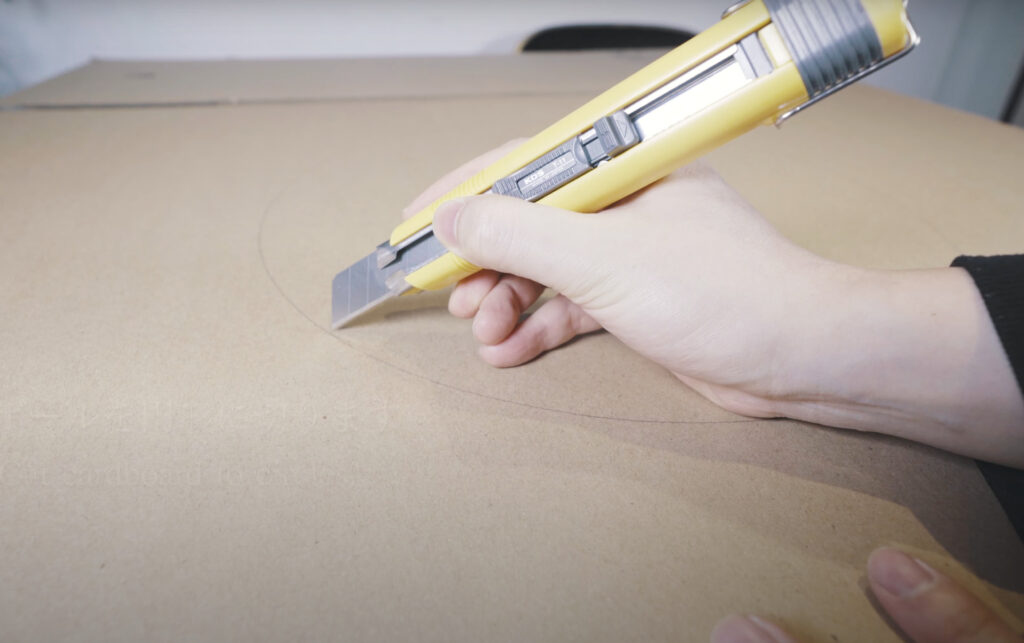
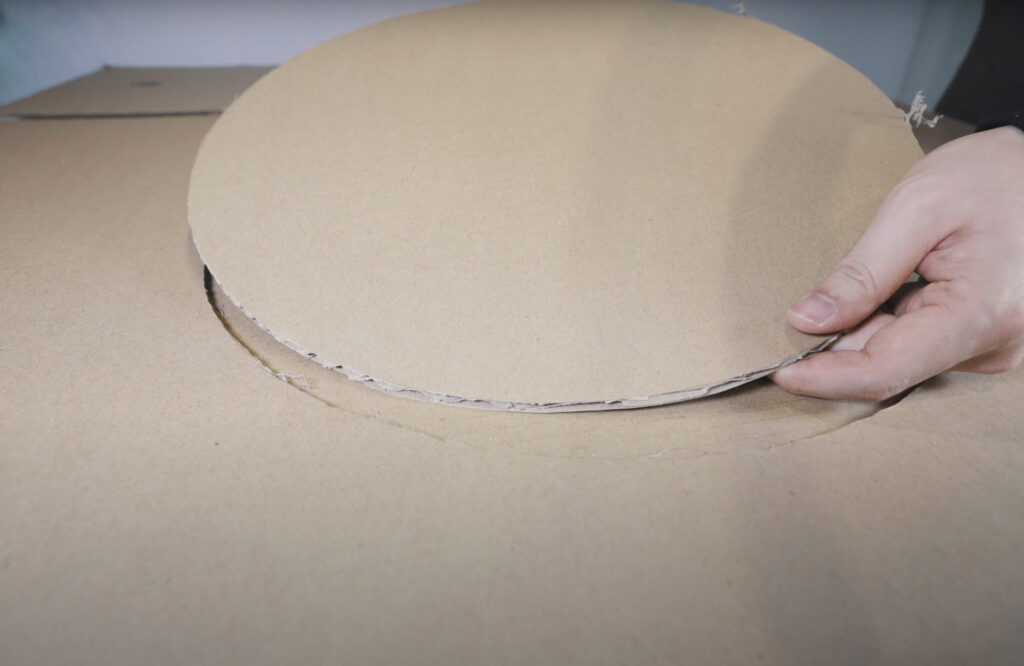
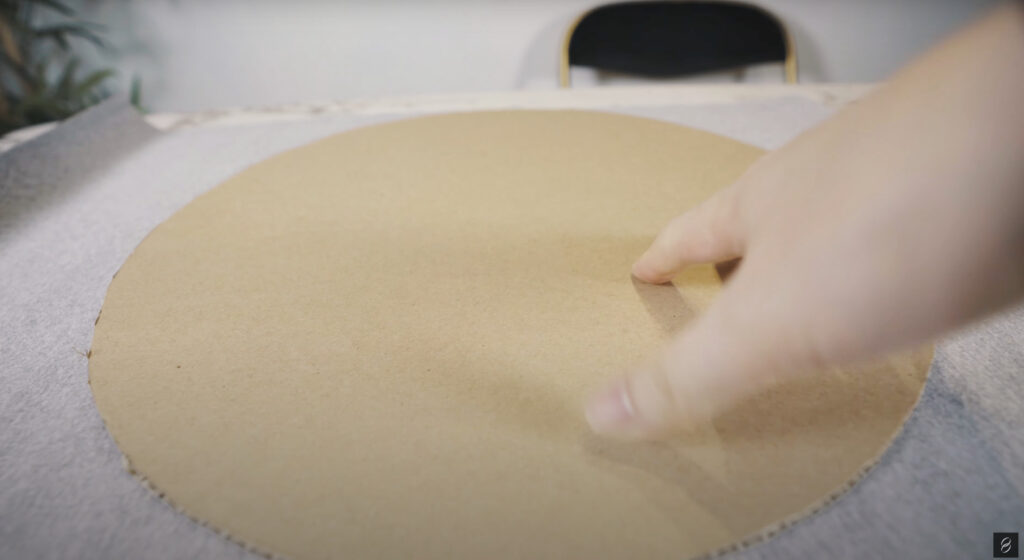
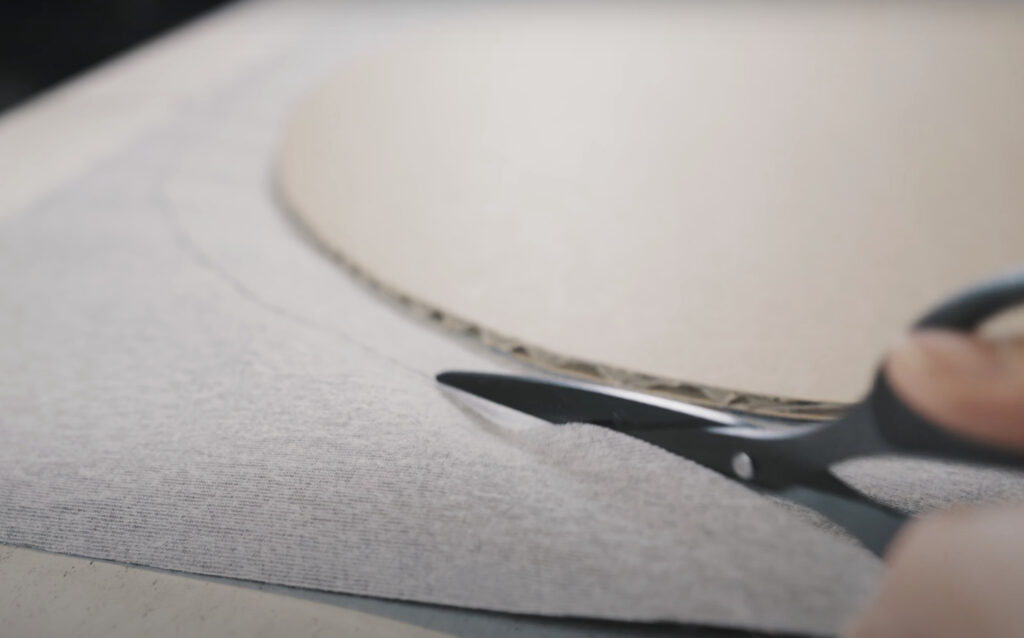
ダンボールを円形に切り取る
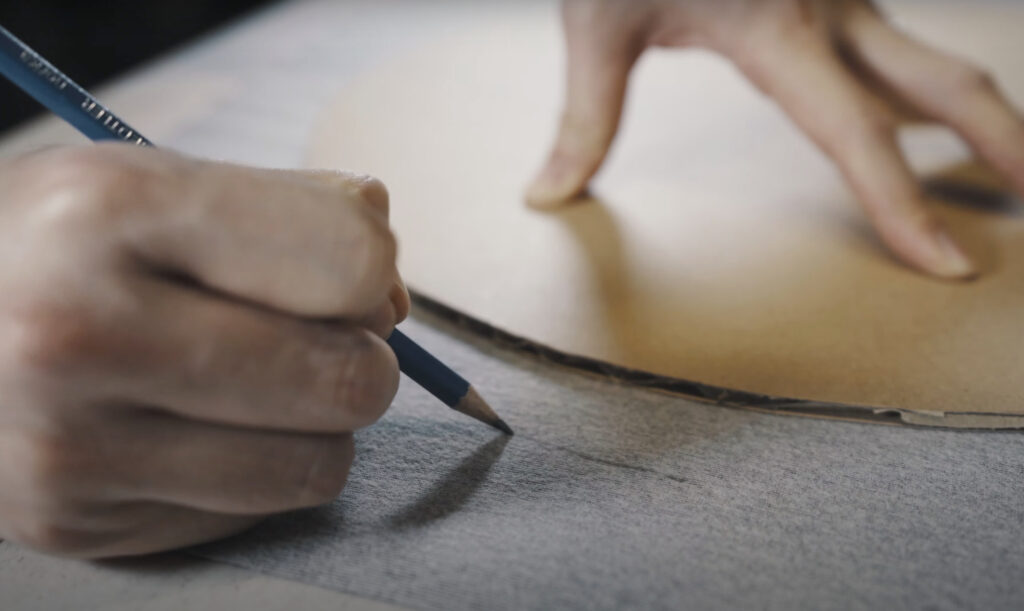
まずはダンボールを用意して、そこに好きなサイズの円形を描きます。
今回は僕はランチョンマットがあったので、このサイズに合わせて穴を開けていきます。(下の写真)


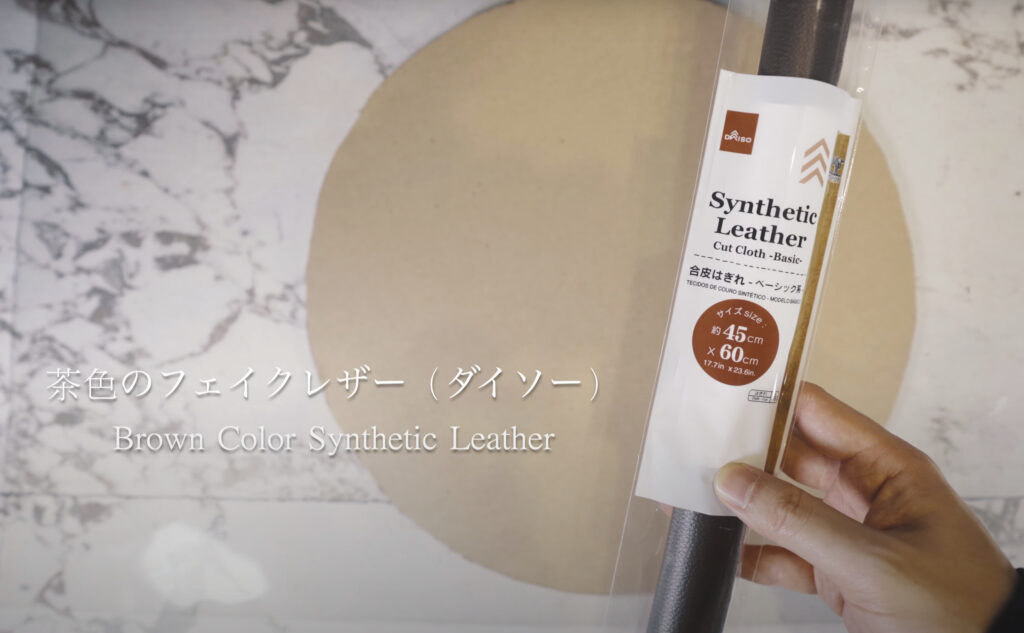
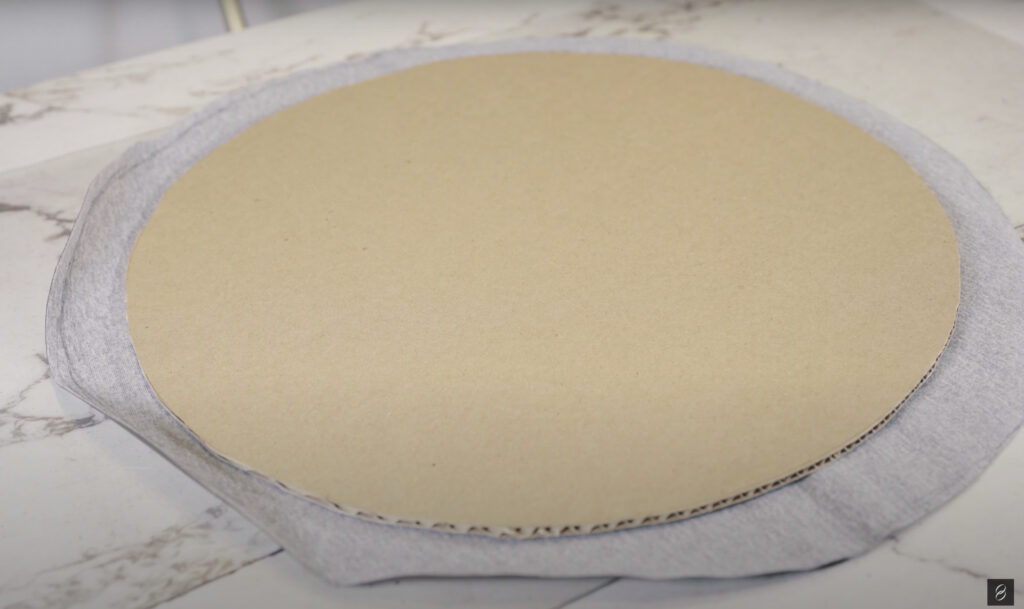
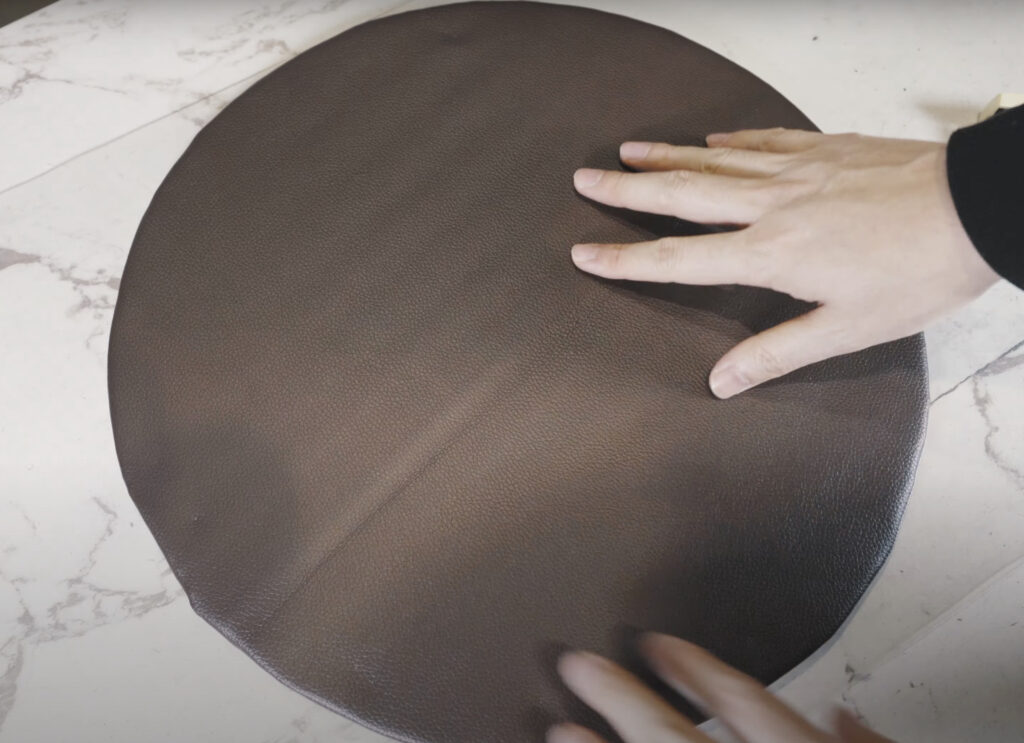
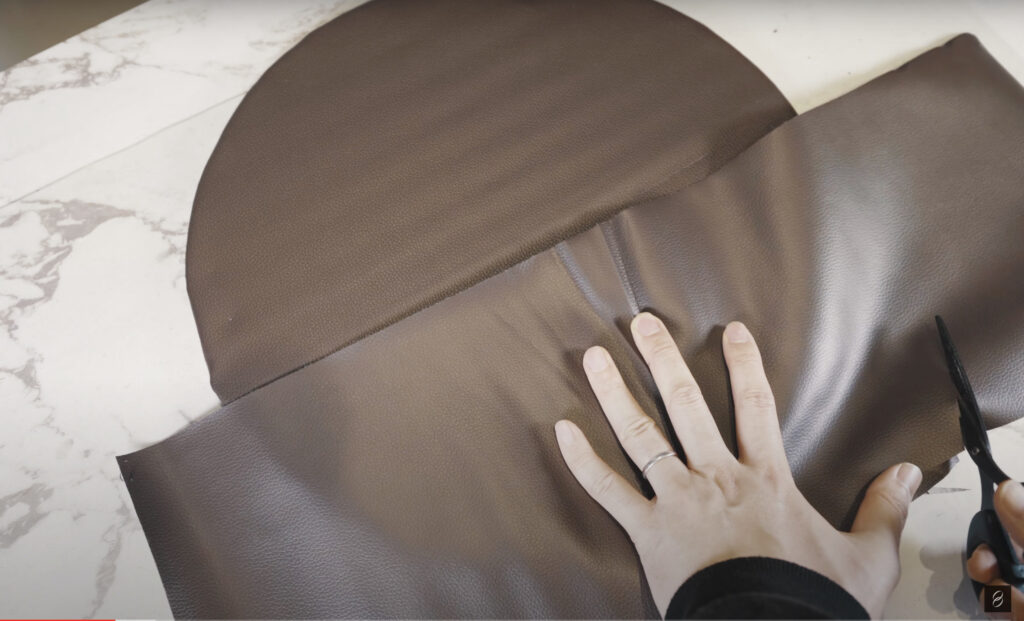
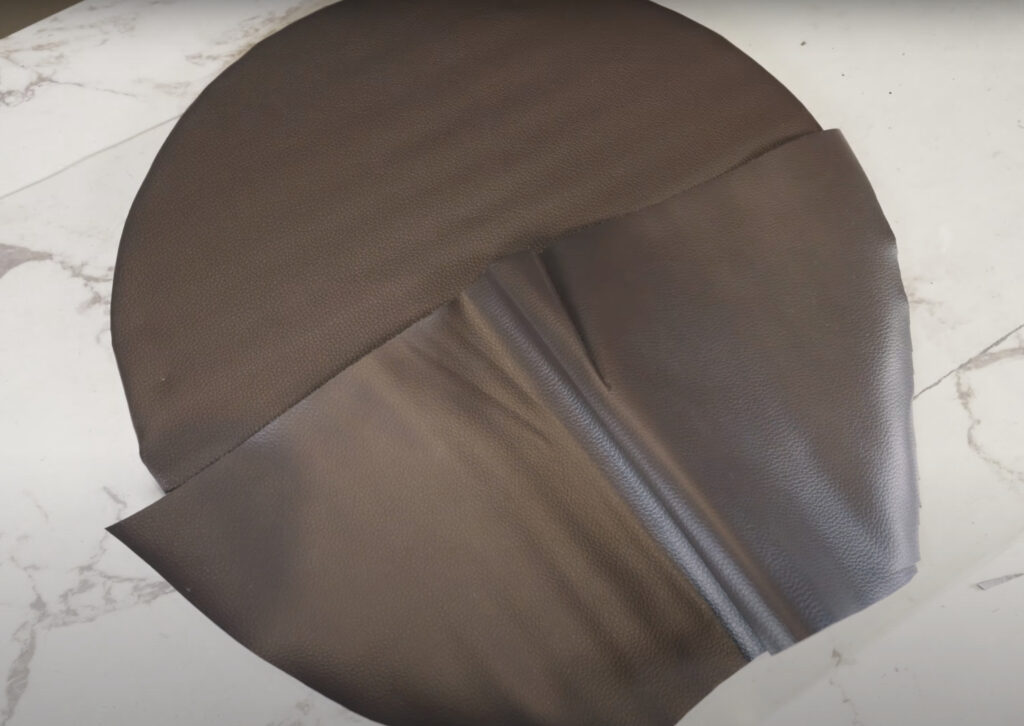
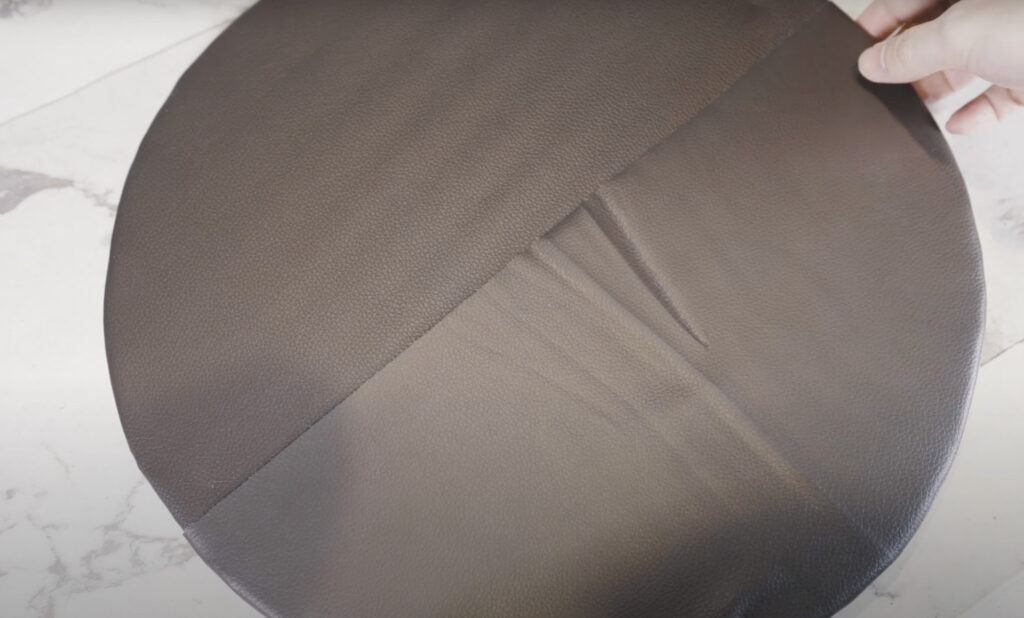
百均のフェイクレザーを貼る
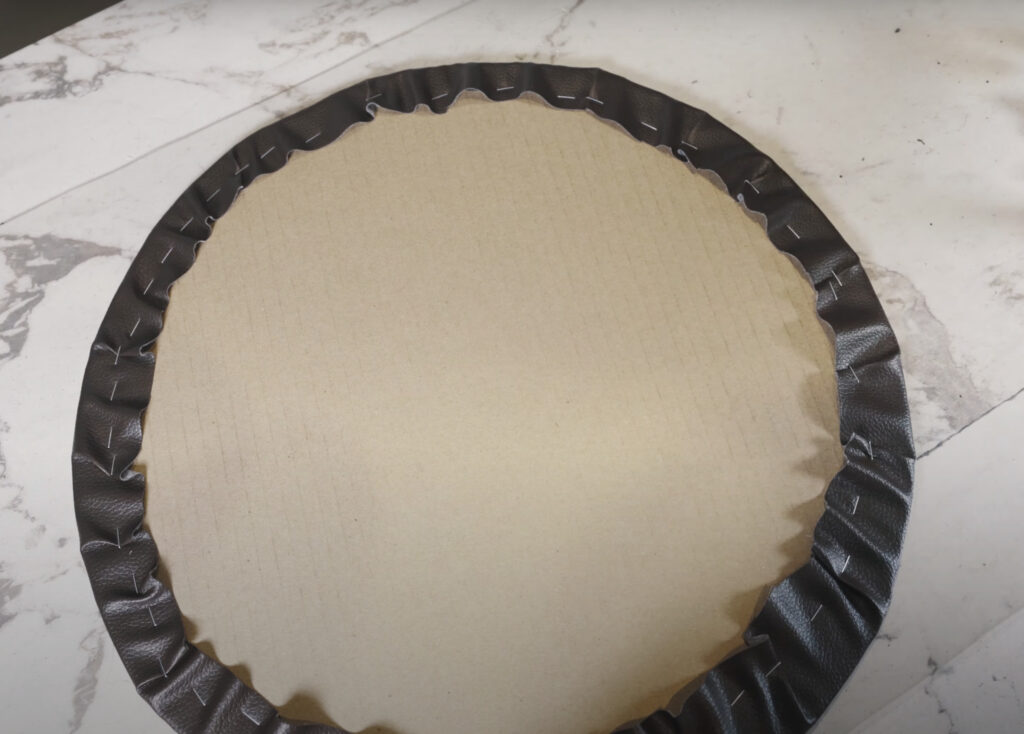
ダイソーさんで購入した合皮のハギレを貼っていきます。
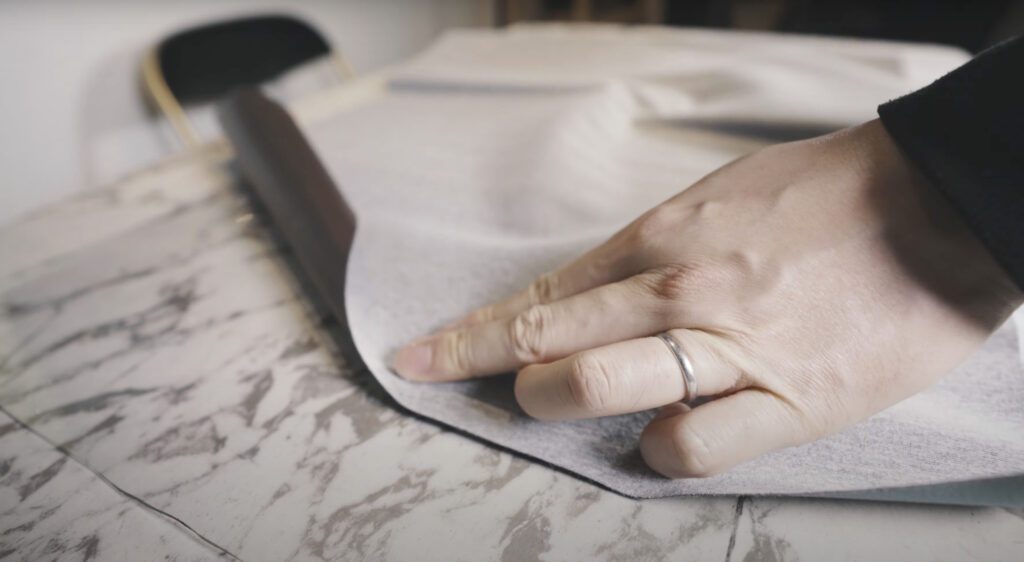
まずは裏向けて広げます。
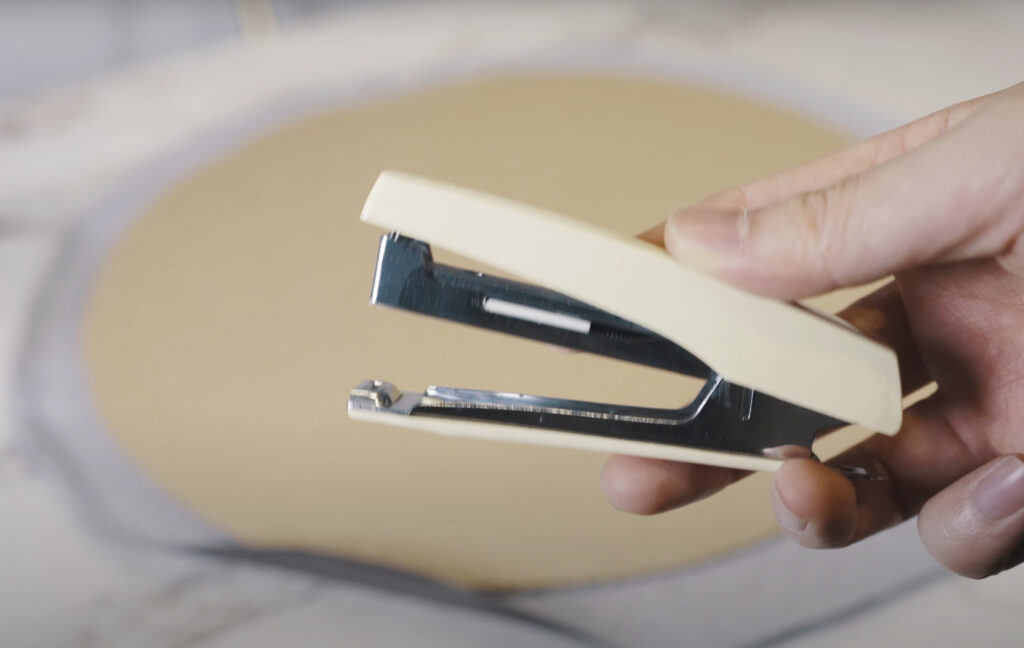
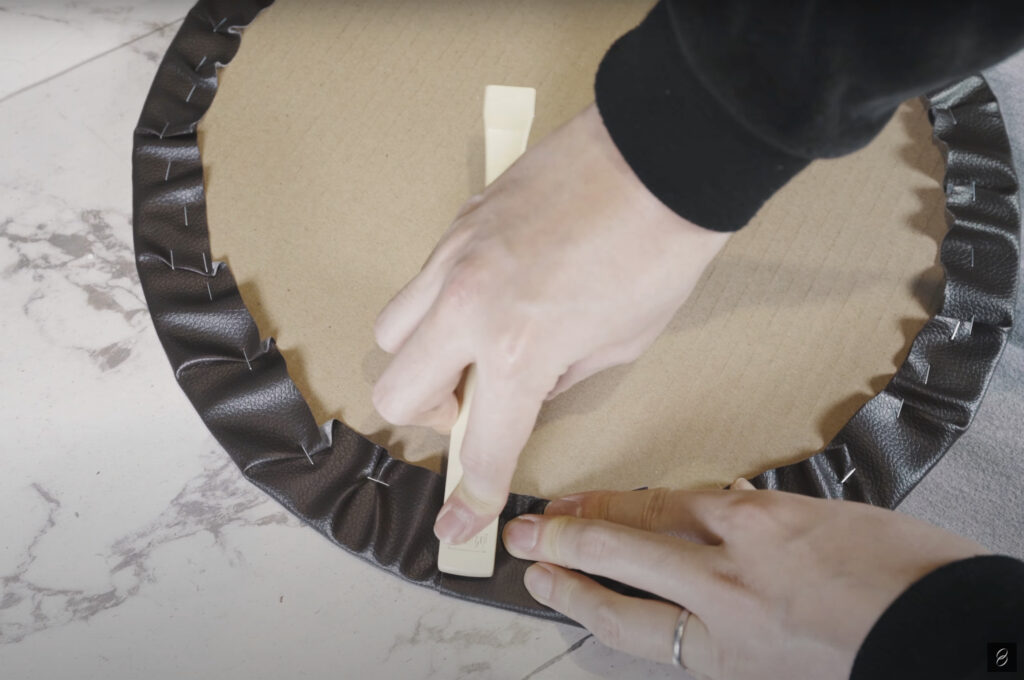
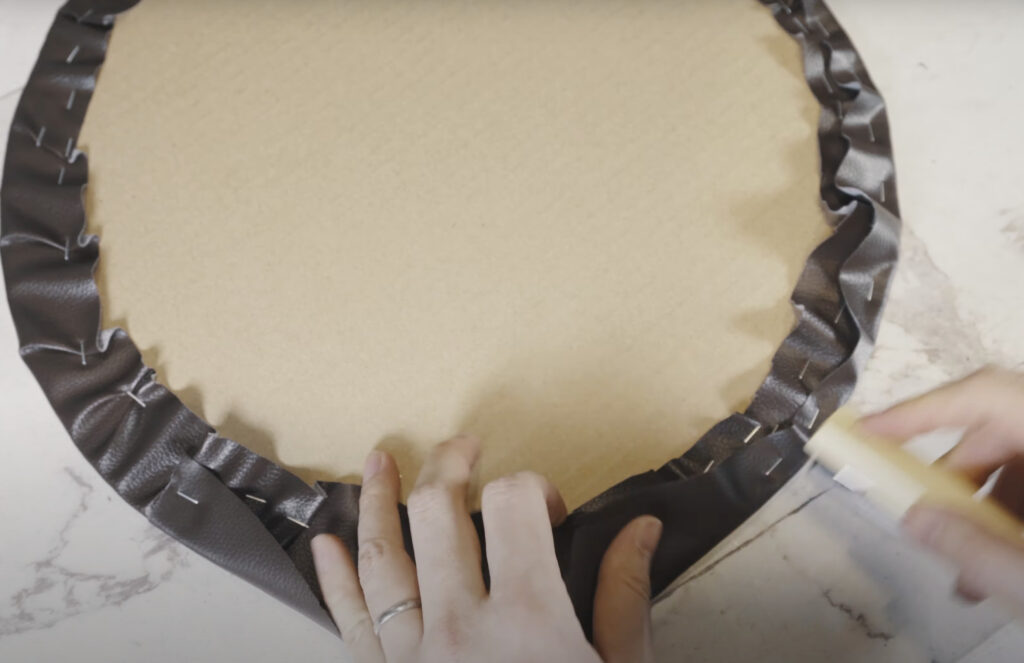
次にフェイクレザーをダンボールに留めるためのホッチキスを用意します。ホッチキスは下の写真のような180度開くものを用意してください。
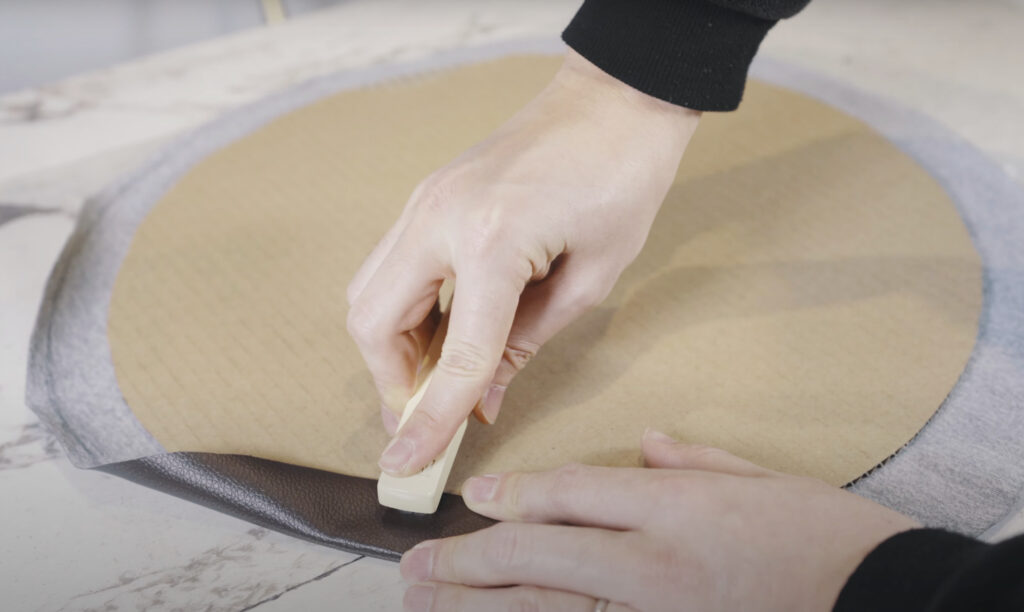
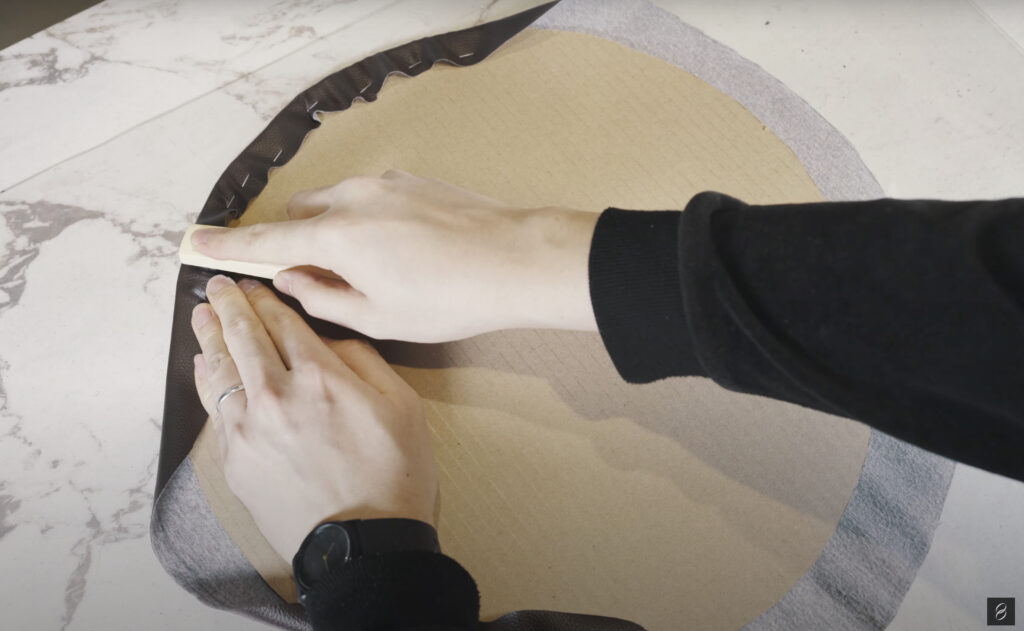
収納ポケットを貼り付け
次に収納するためのポケットを付けていきます。
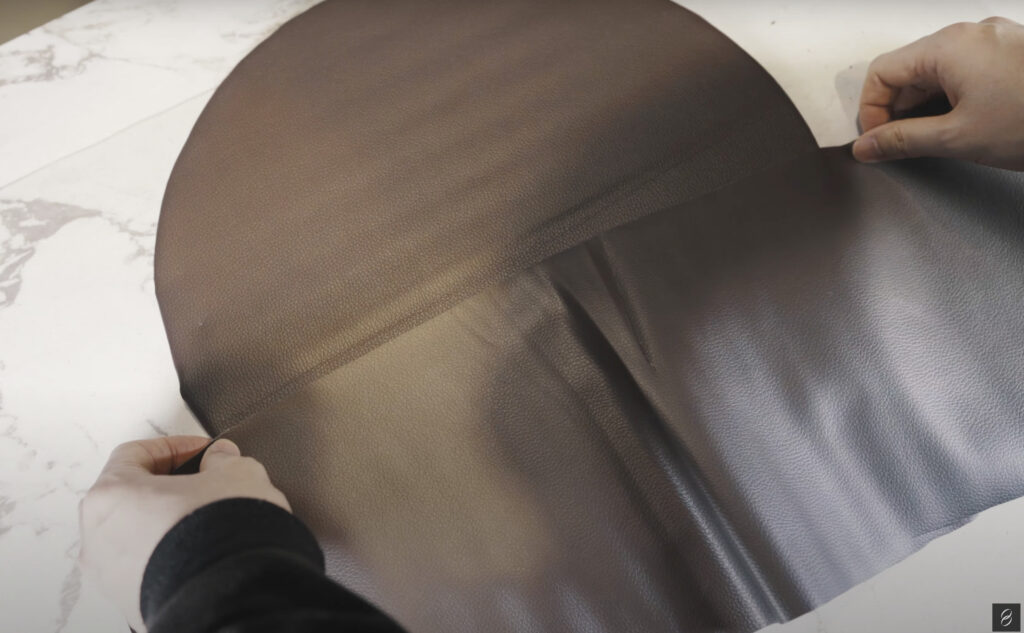
裏返して、先ほどと同じようにホッチキスで留めていきます。
ちょっとした装飾で可愛く
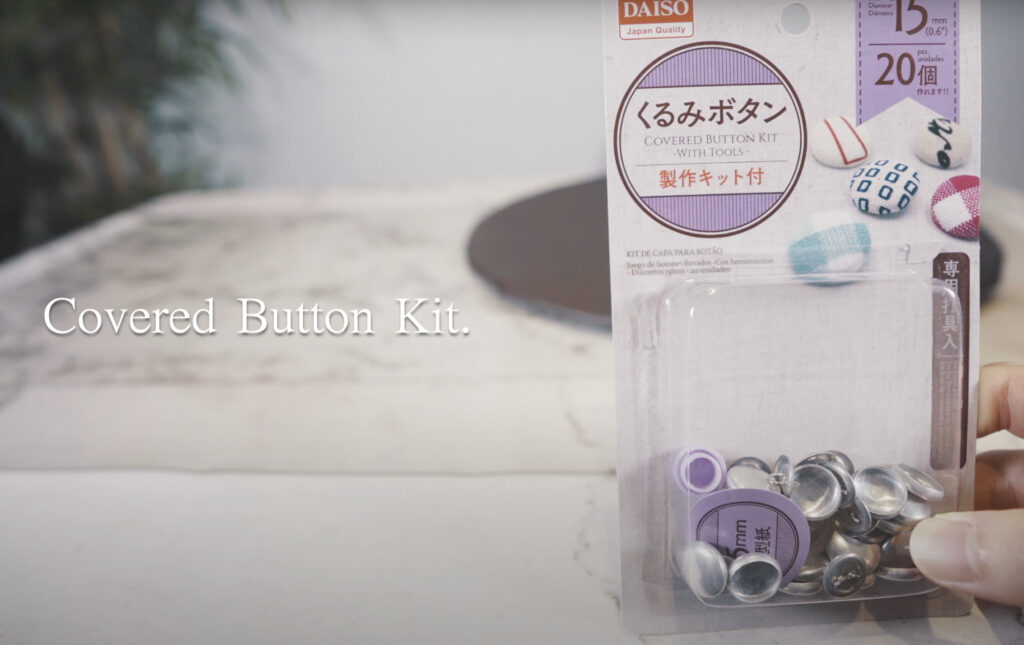
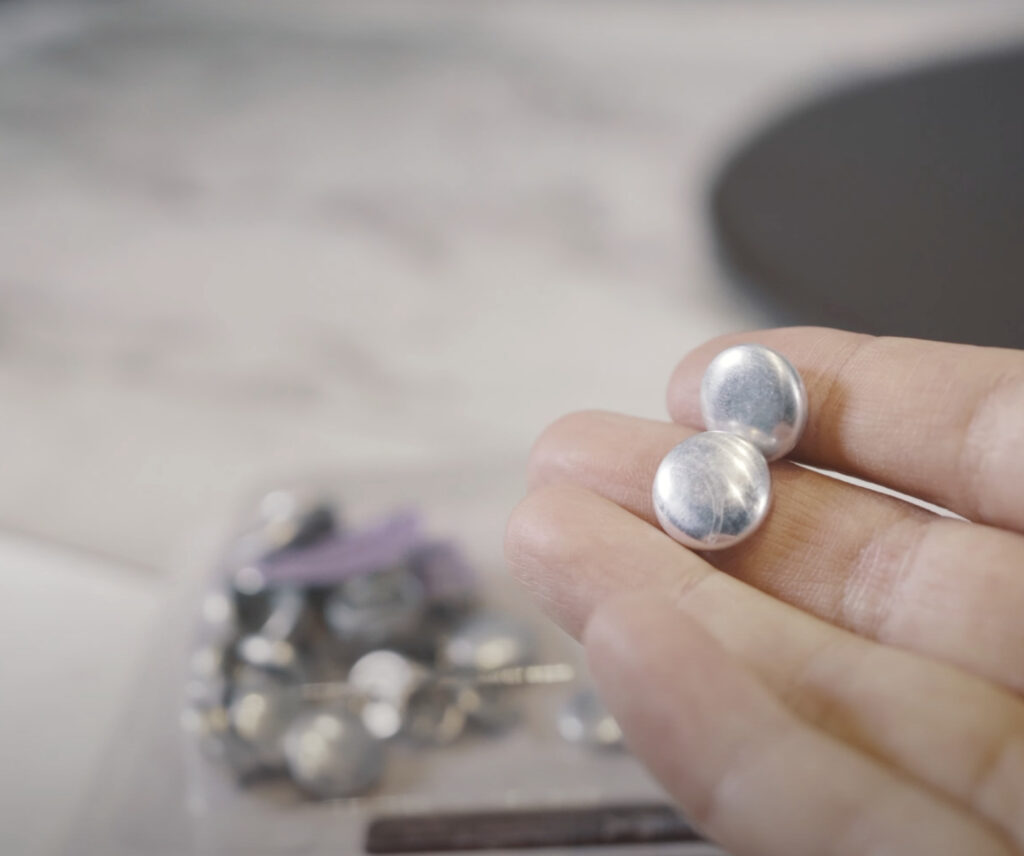
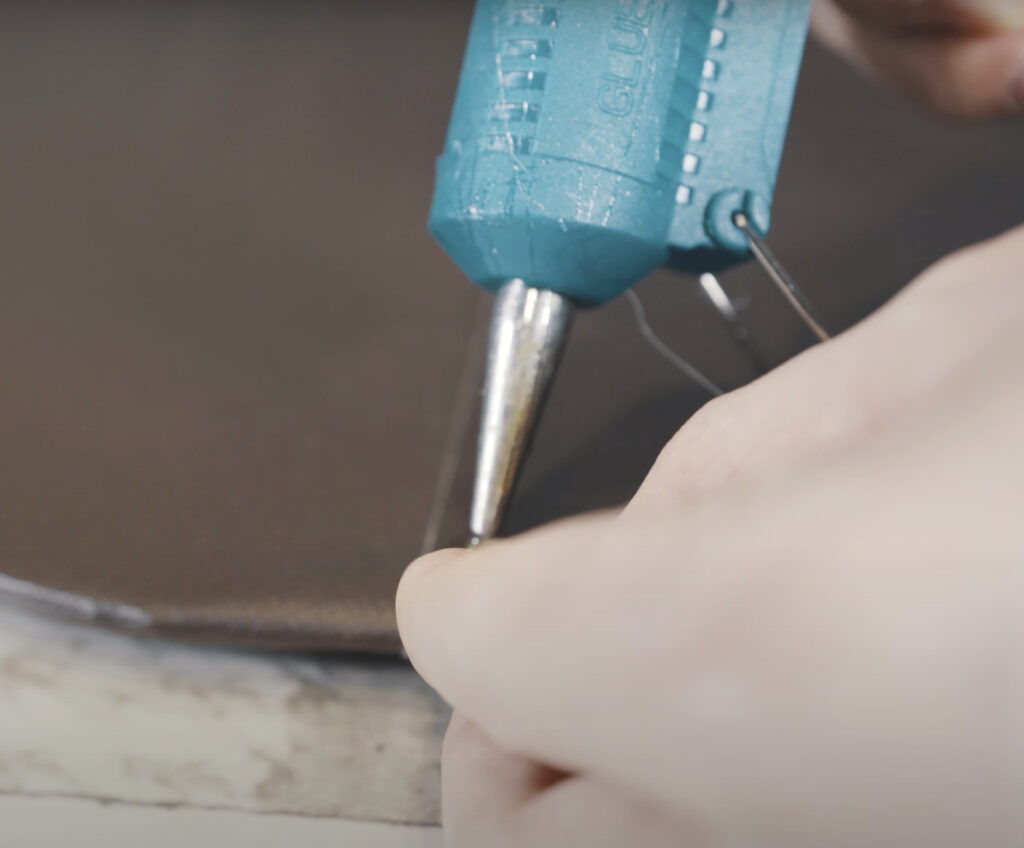


端っこに一つずつくっつけました。
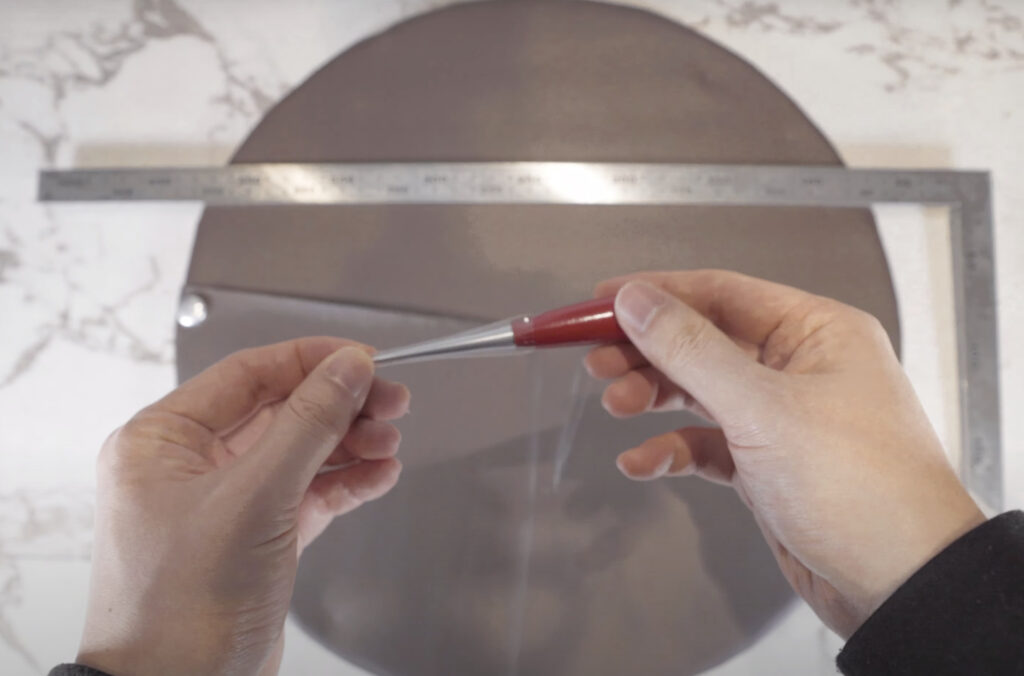
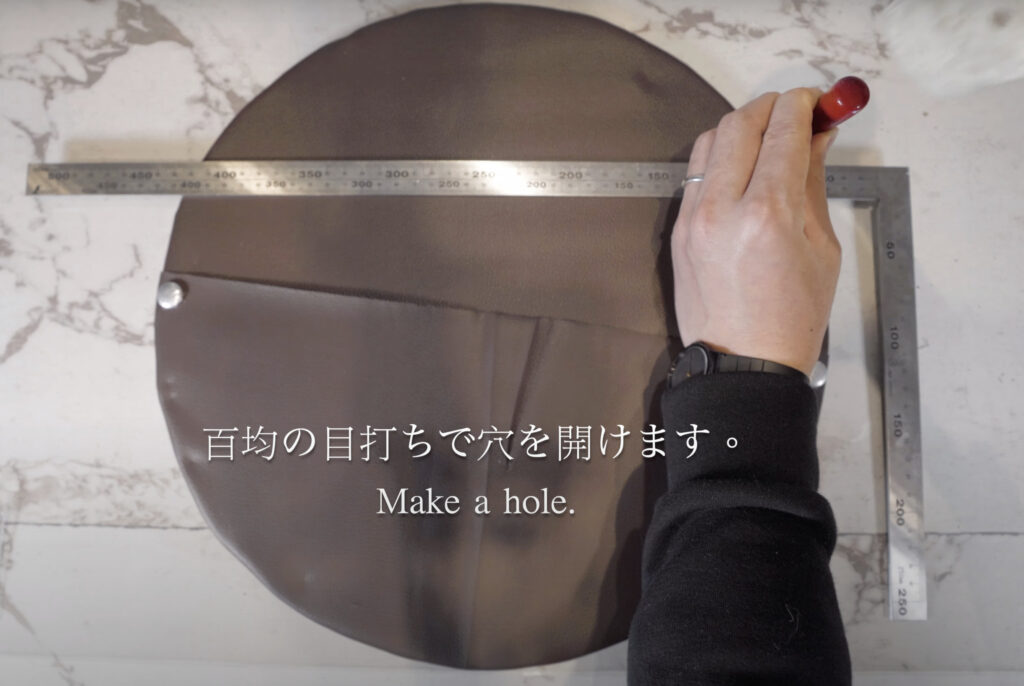
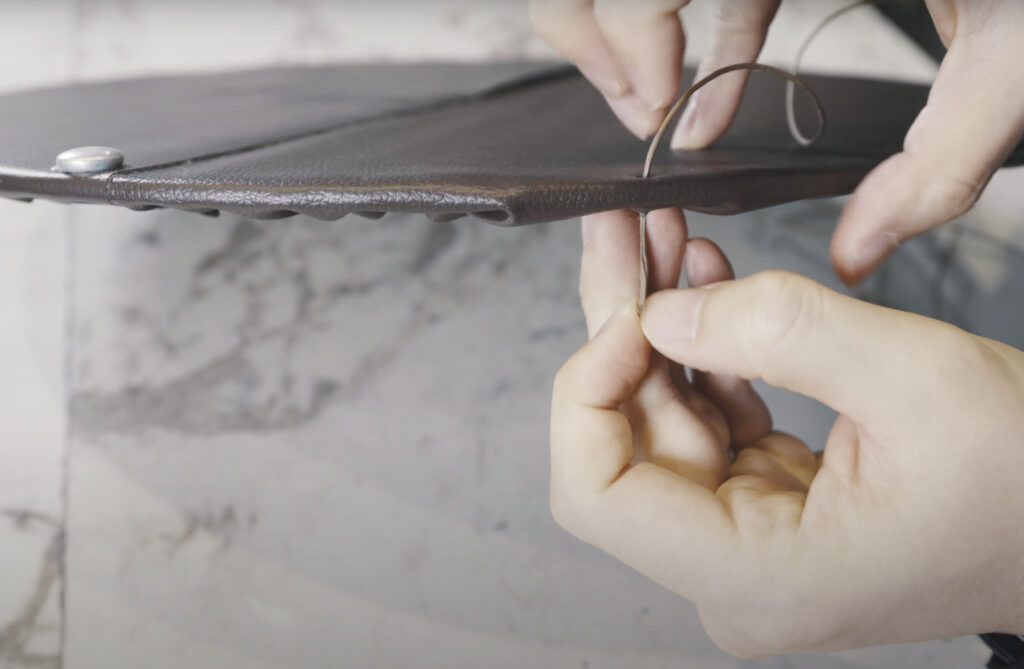
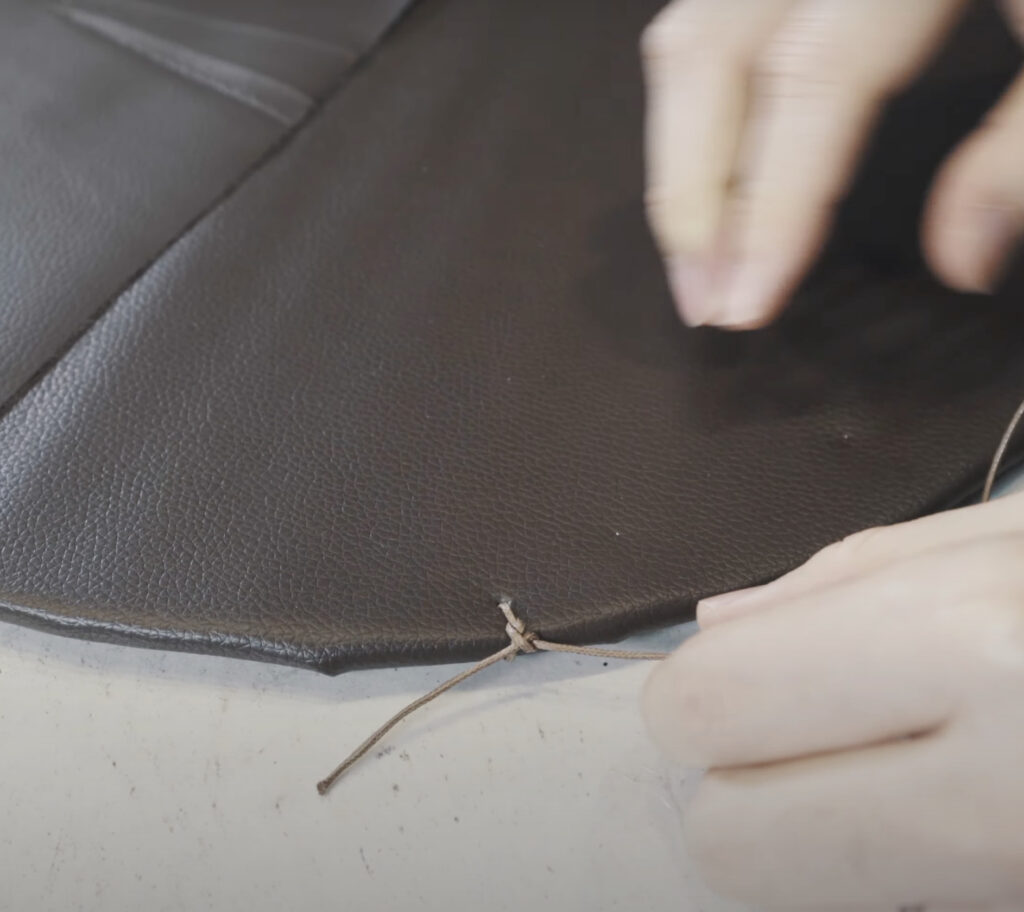
最後に壁にハンギングするために穴を開けていきます。

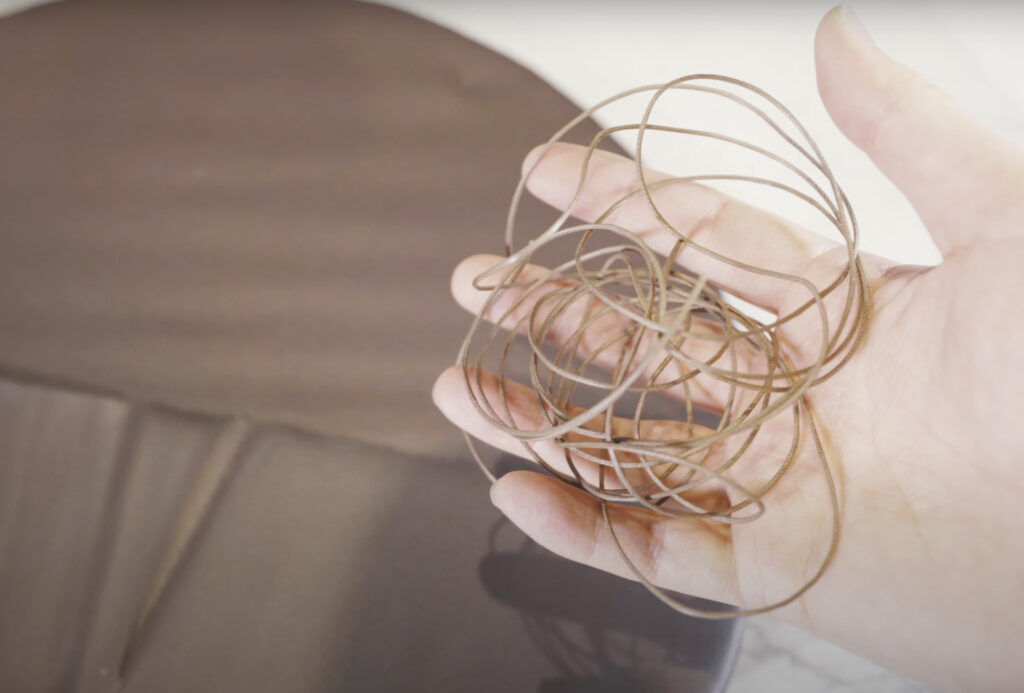
100均に売っている麻紐でもOKです。
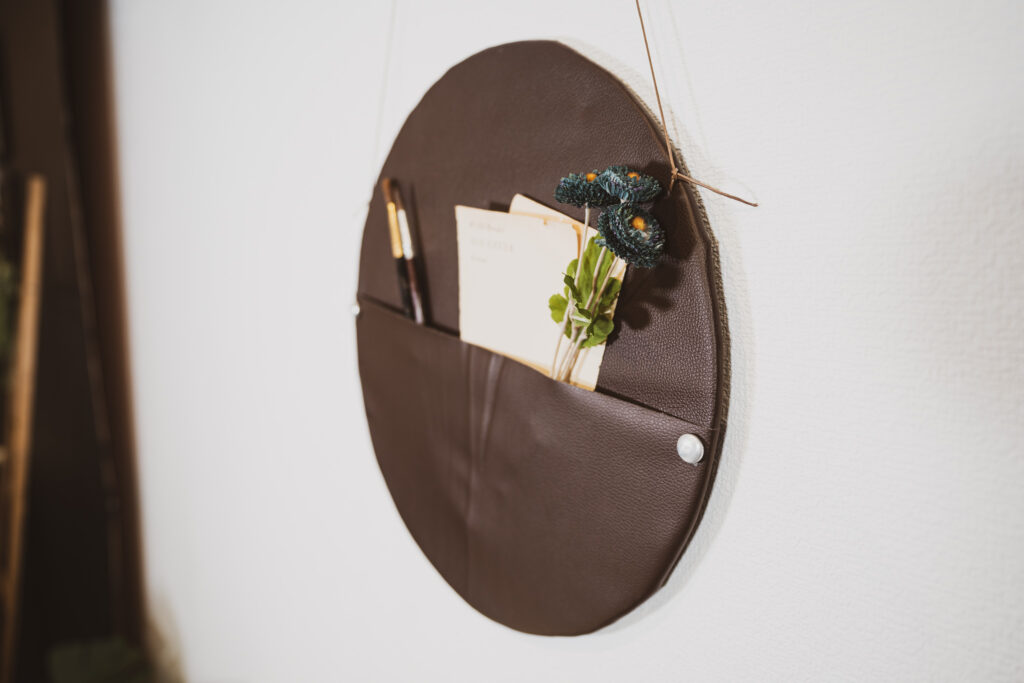
完成!

アシンメトリーな感じが良い感じになるかなぁと思いました。
最後までお読み頂きありがとうございます。