にほんブログ村
こんにちは!Hoshです。
今回は100円ストアの商品を中心に使い、壁面にグリーンアートを飾っていくためのDIYを紹介します。
イメージは、ギャラリーウォールのようにアート的にグリーンを配置してお部屋に壁面緑化を作る感じです。
さまざまなサイズの額縁(フレーム)を用意


ギャラリーウォールのようにグリーンを配置していきたいので、自分の壁のサイズと完成イメージに合わせてダイソーさんやセリアさんで額縁を購入。
額縁にグリーンを貼り付けていきます。
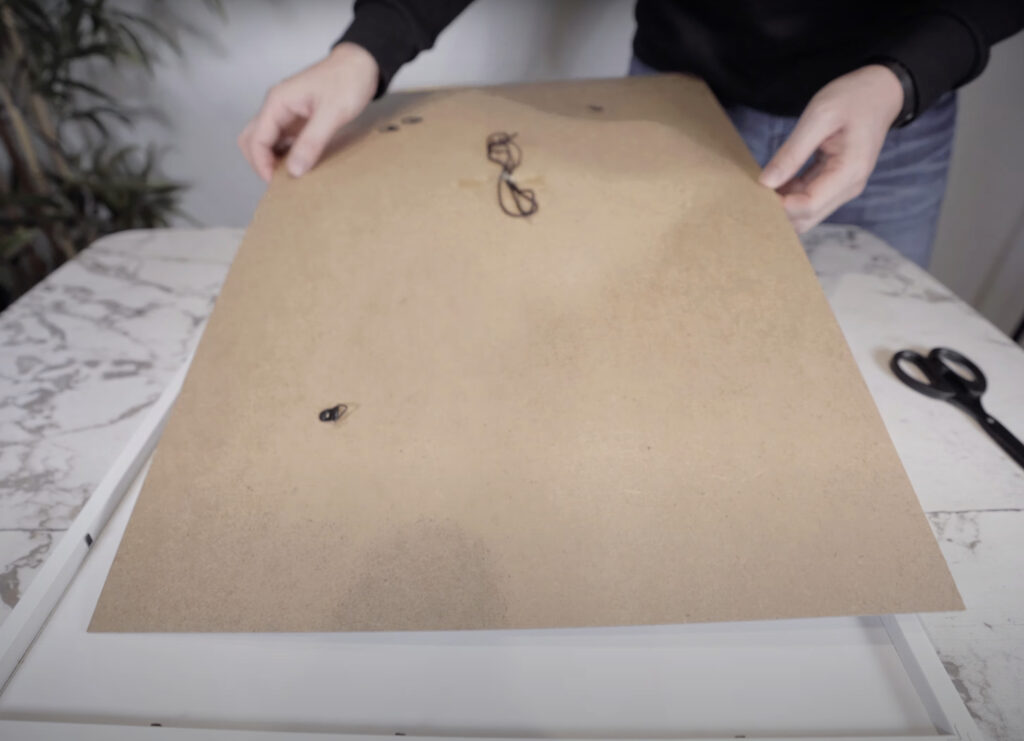
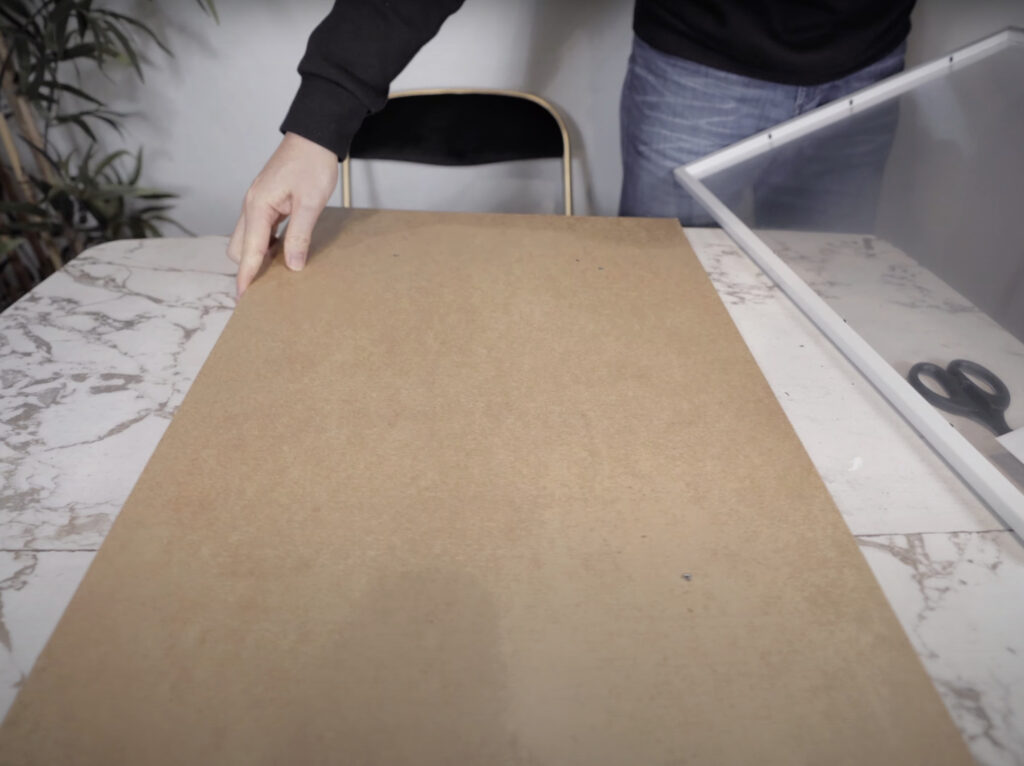
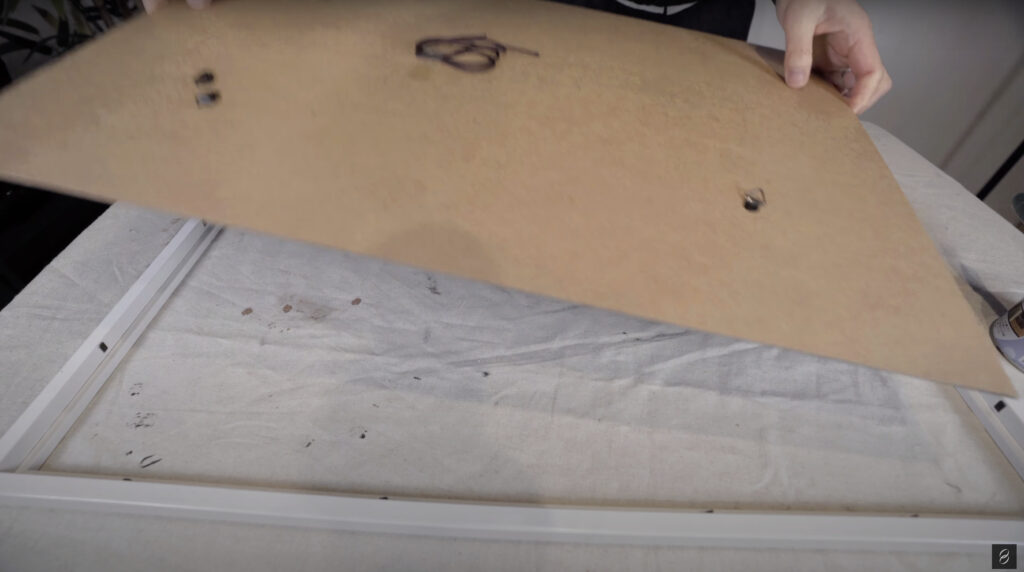
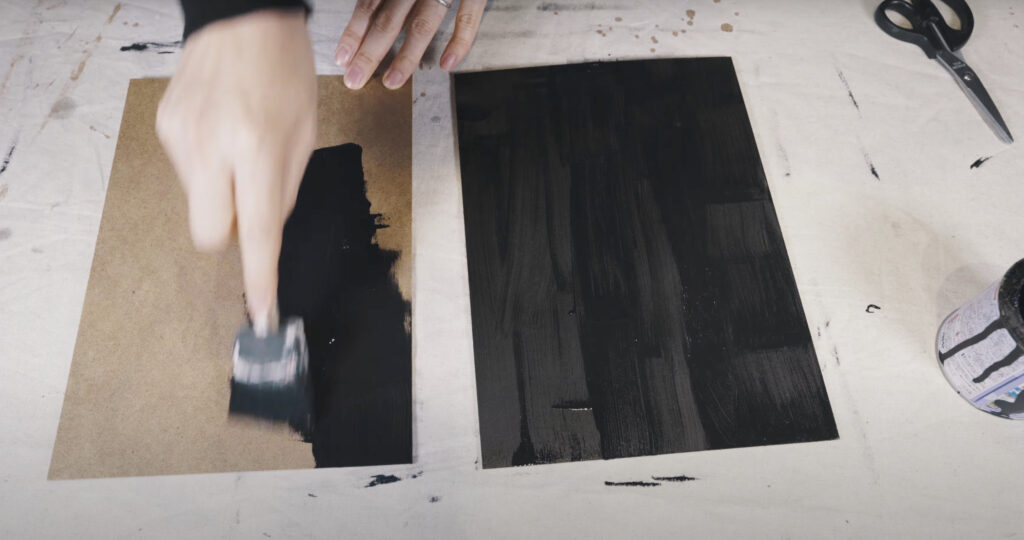
額縁の中の下地ボードに色を塗る
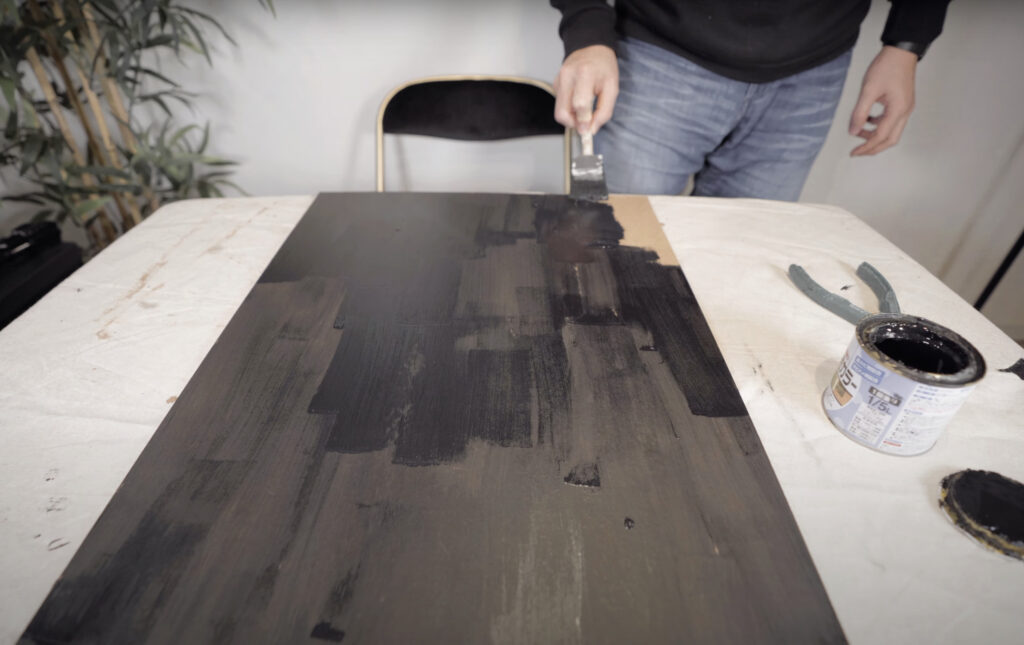
下の写真のように額縁にはアートの紙を押さえるための厚紙のボード(茶色のボード)があります。これを下地にしていくので色を塗っていきます。

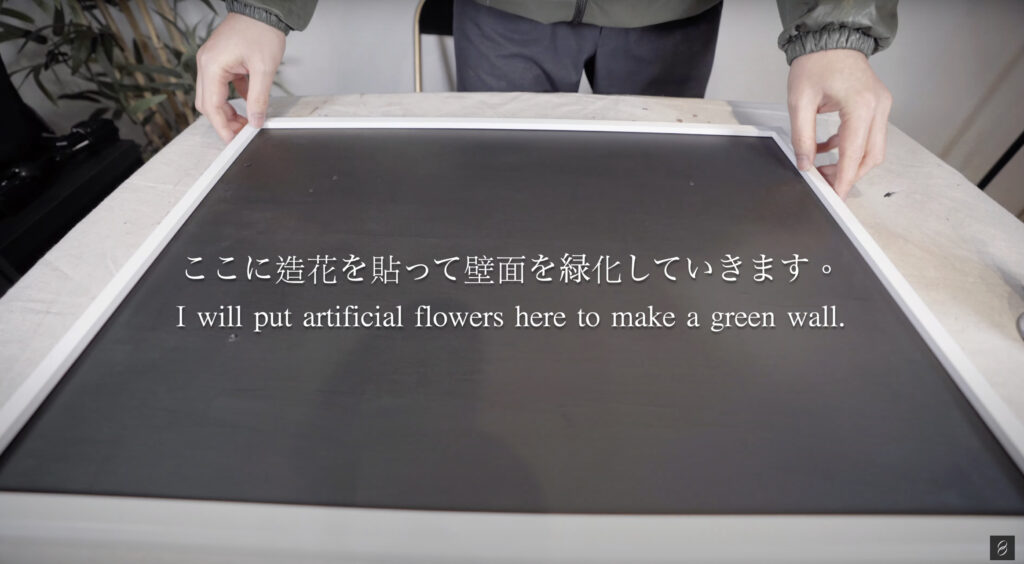
できるだけ室内の雰囲気と合わすために色はつや消しをお勧めします。艶ありでテカテカしてると部屋にあまり馴染んでくれません。

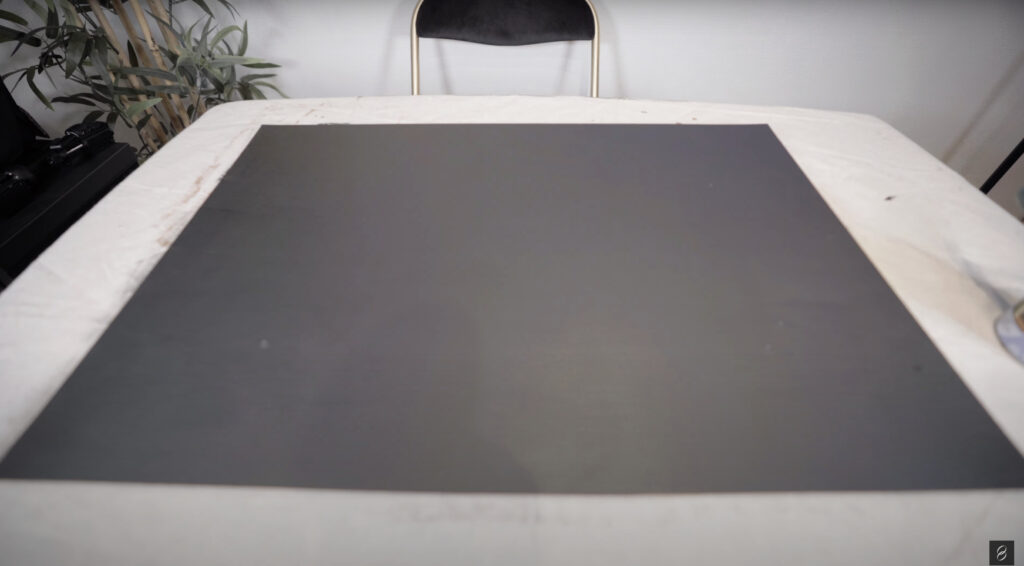
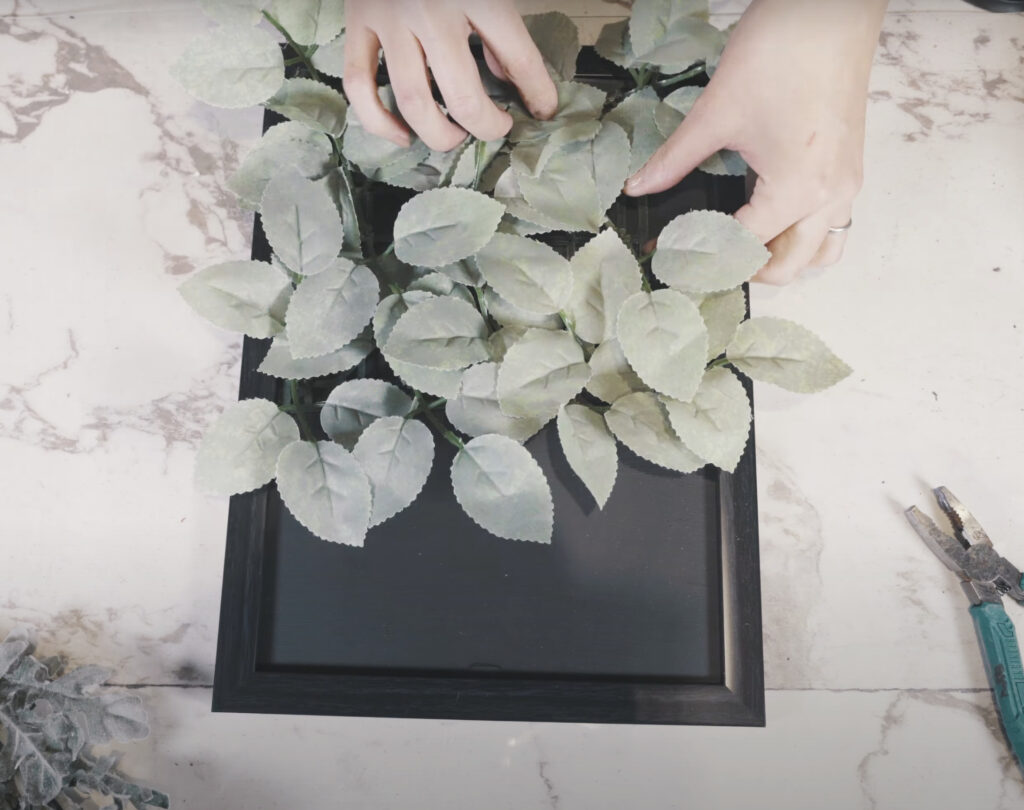
額縁を表面に向けると下の写真のような雰囲気になります。いい感じの下地ができました。
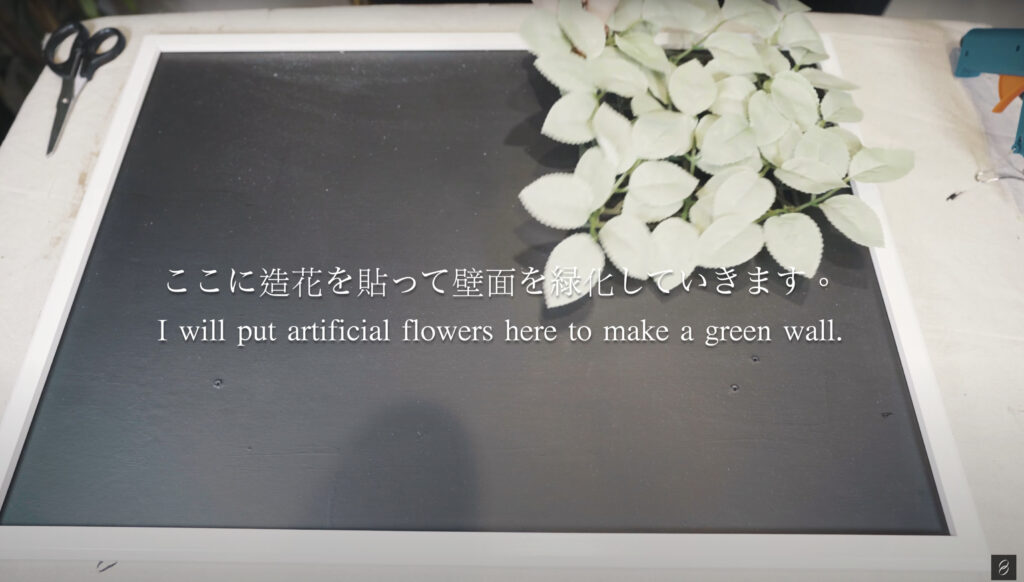
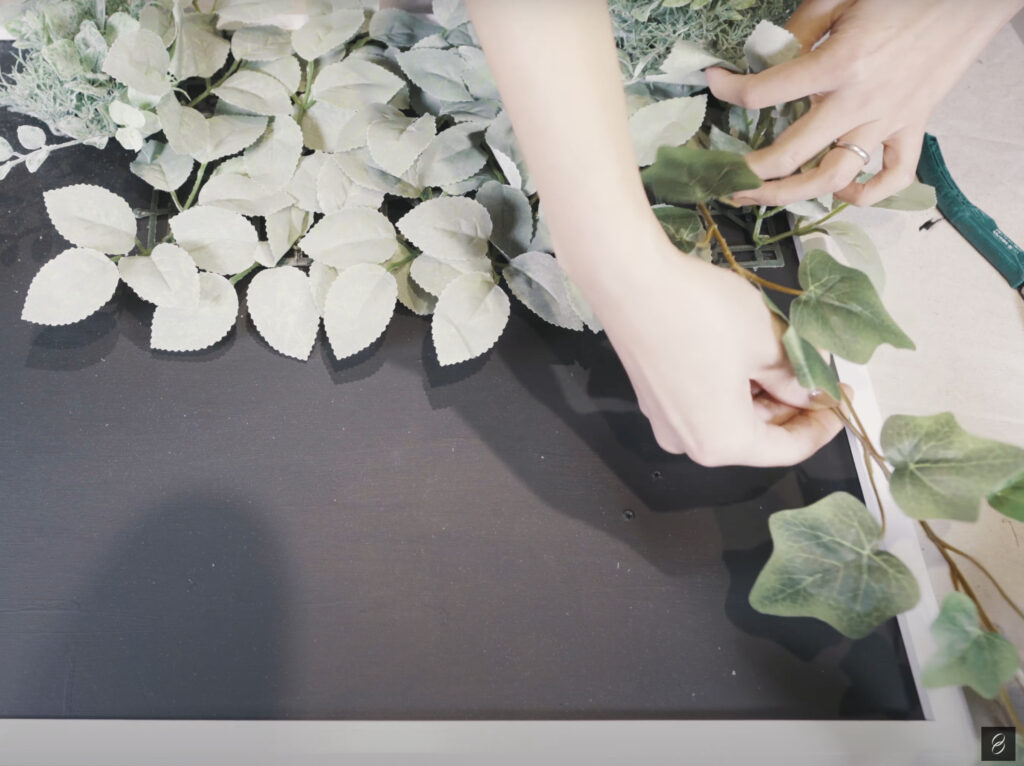
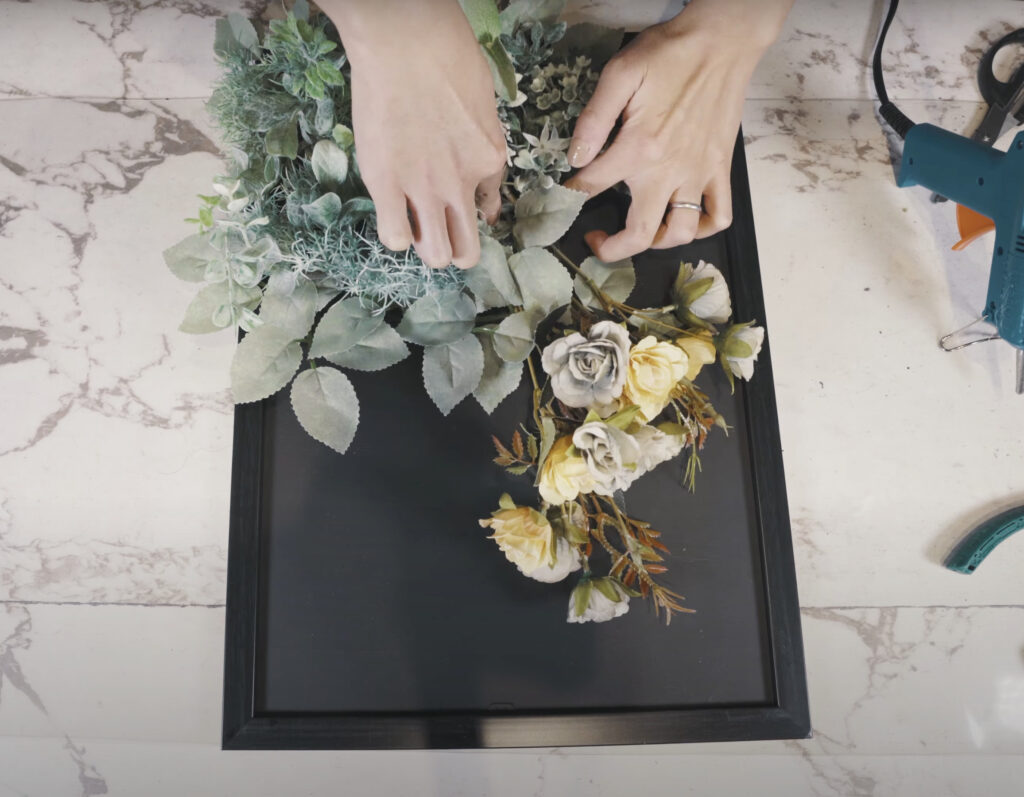
造花、フェイクグリーンでデザインを考える
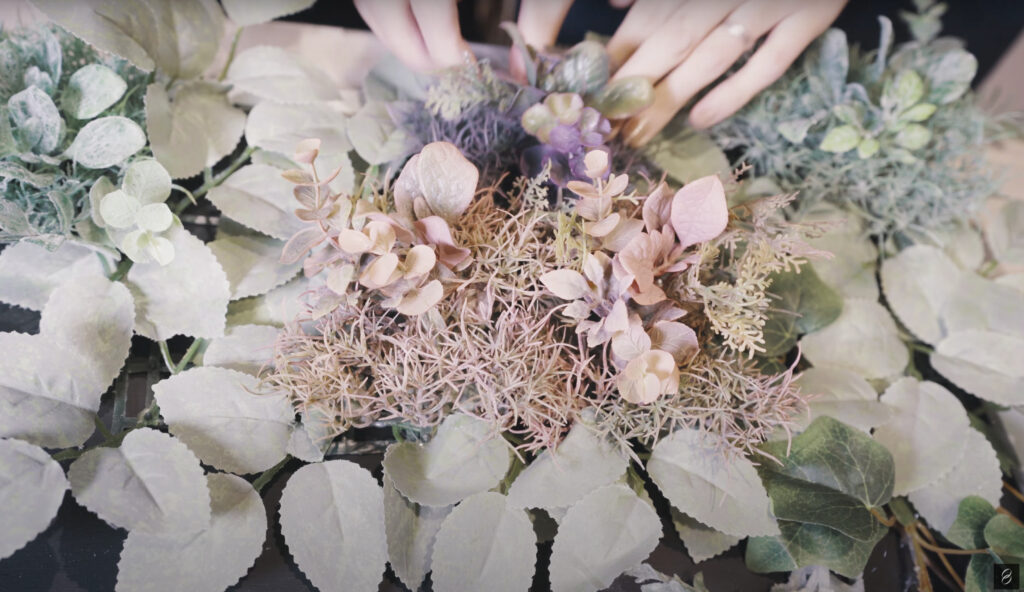
同じく百均で購入した造花やフェイクグリーンで緑化のデザインを考えていきます。ベースとなるグリーンを敷き詰めると良い感じになります。
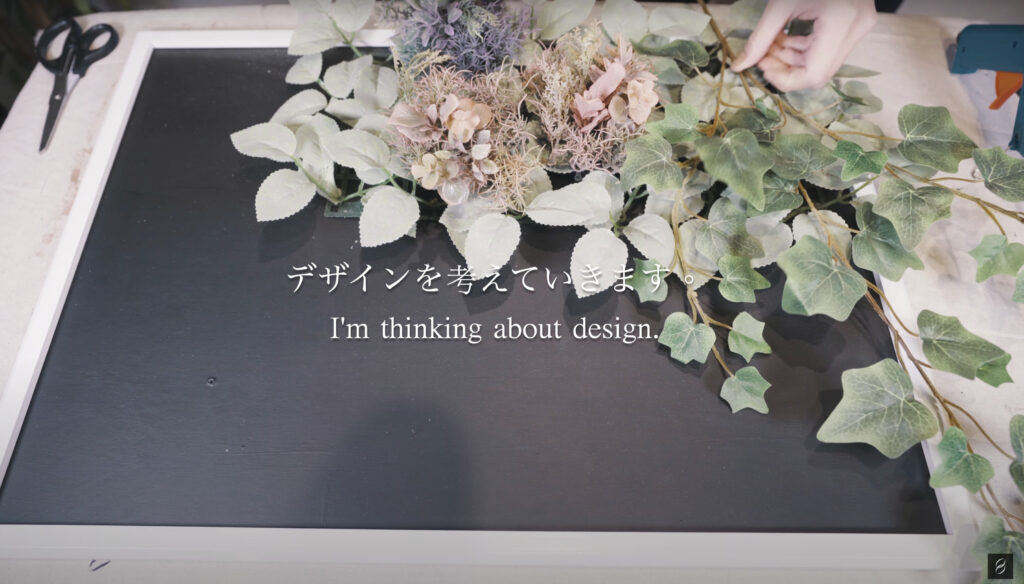
ベースとなるグリーンを敷いて上に華やかな色の造花などを置いていくとアクセントになって良い感じ。
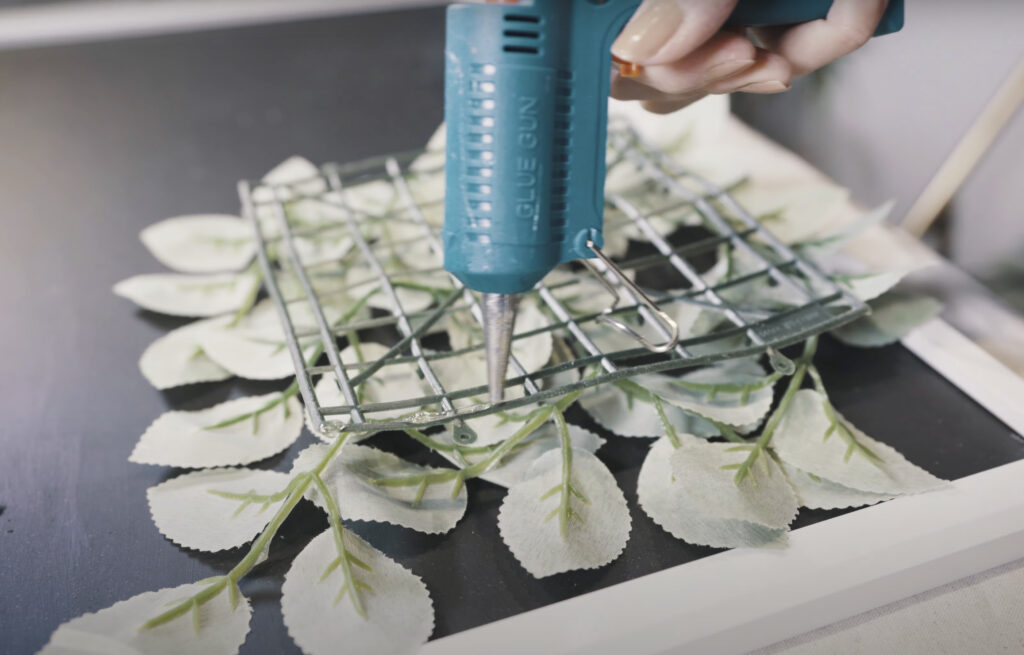
グルーガンで貼り付け
デザインが大まか考えることができたら、あとは額縁に造花たちを貼り付けていきます。
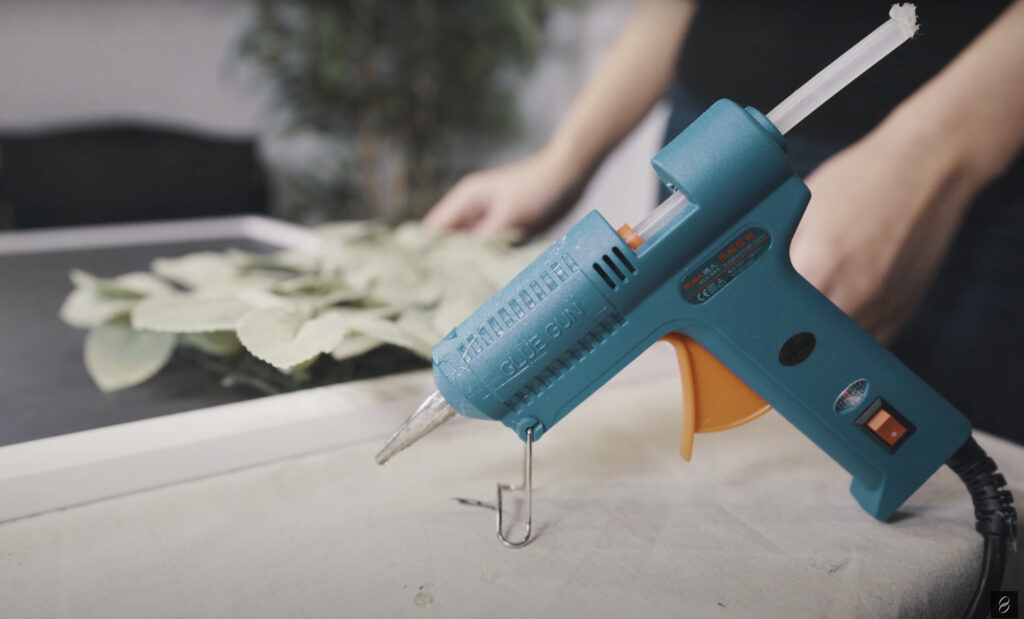


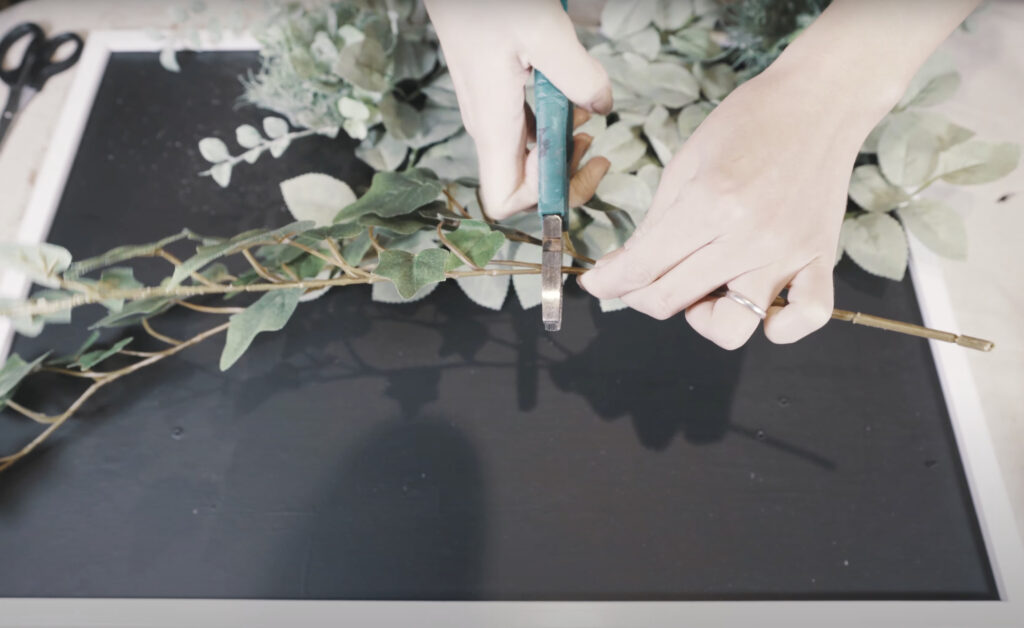
中には針金が入っているのでハサミでは切りにくいと思います。


同じ手順で他のサイズの額縁にもフェイクグリーンや造花を貼り付けていきます。
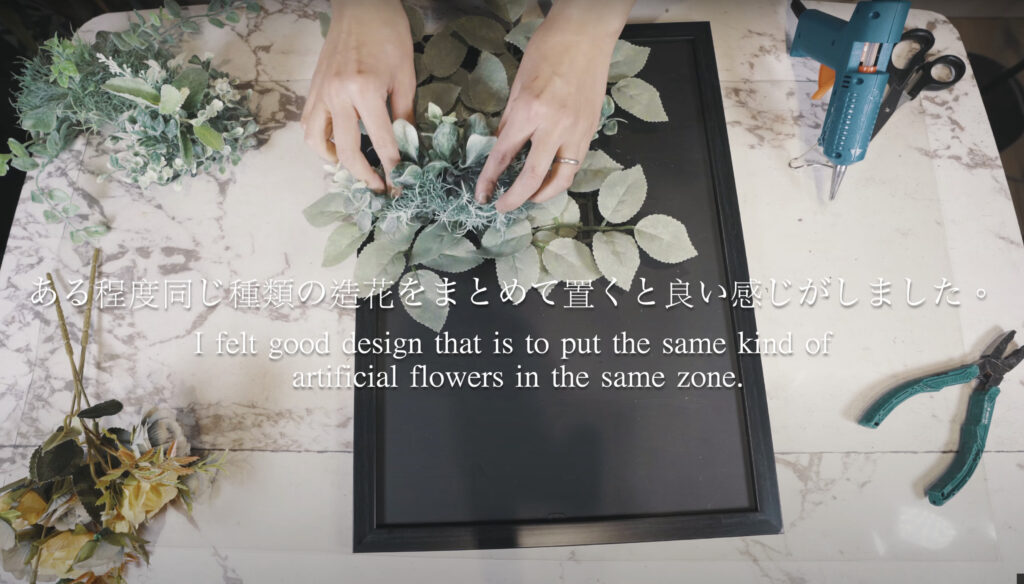
コツは同じ種類の造花をまとめて配置するとまとまって良い感じに見えます。
あとは壁にセットして完成!
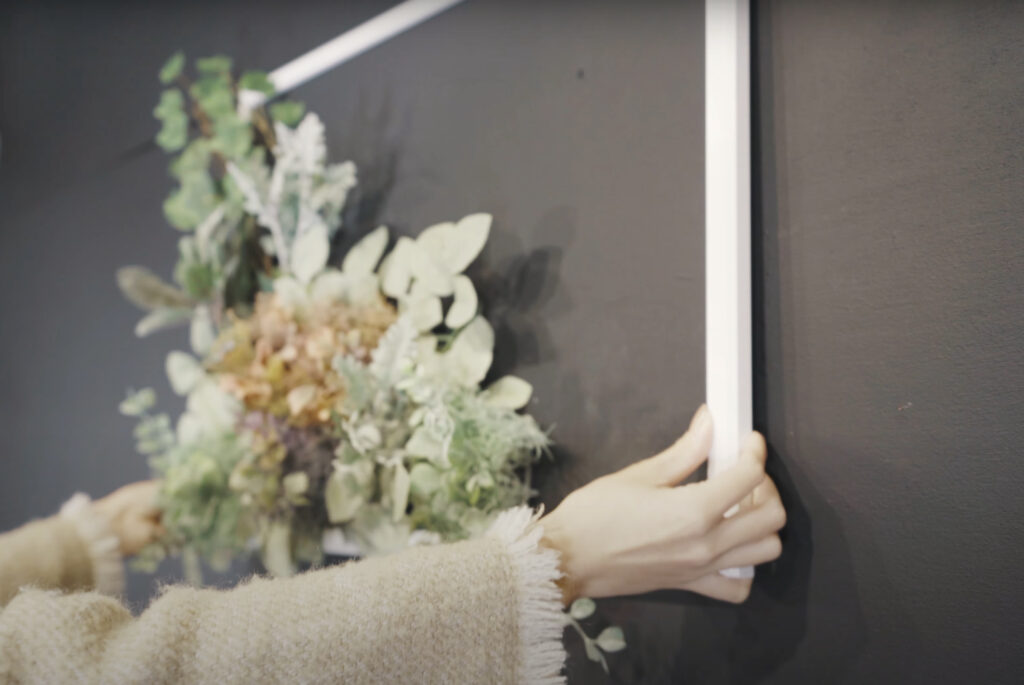
壁へのセットの仕方はこちらの動画も参考になると思います。
こちらのギャラリーウォールの記事も後半でアートの設置の仕方を紹介しています↓
完成
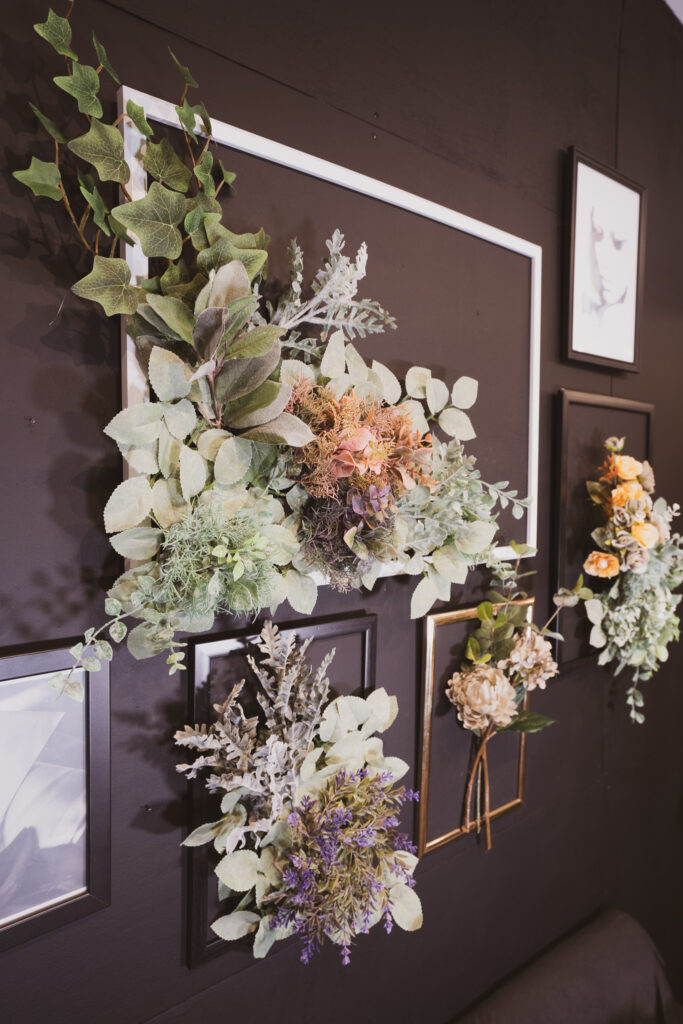
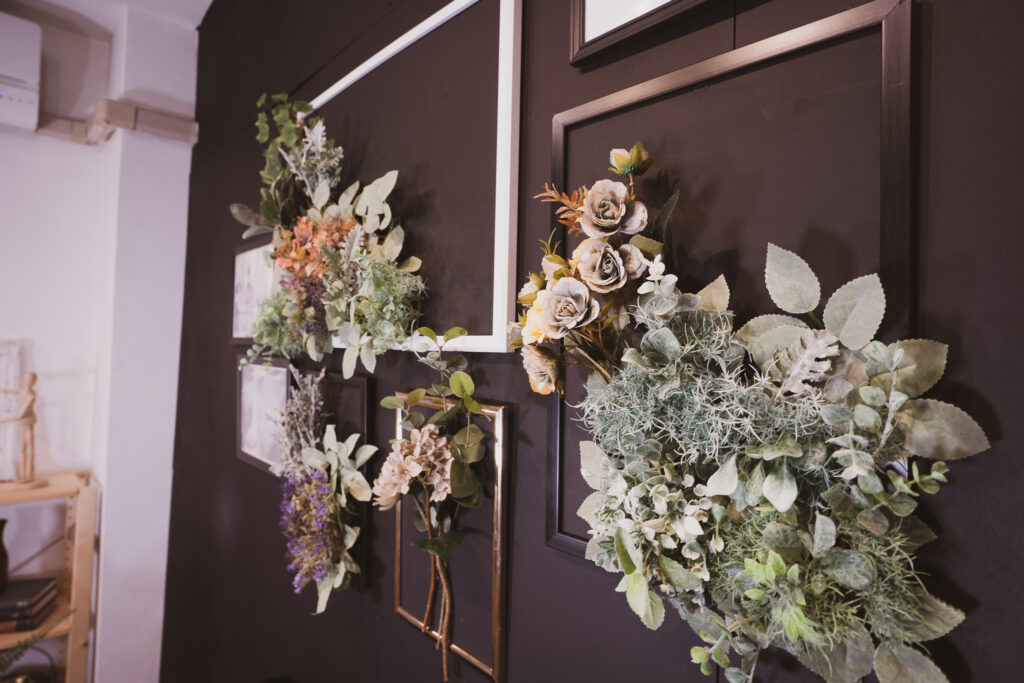

かなりオシャレで上品な感じのグリーンウォールとなったのではないでしょうか。
満足です。